• Are in-ground trampolines safer than above-ground?
Of course, safety is paramount when it comes to outdoor play equipment for children. Even with rigorous safety checks, there’s always the possibility of injury if a child doesn’t use the equipment properly or is left unsupervised. There’s admittedly an additional risk of falling with an above-ground trampoline, which is already raised before kids start jumping high in the air, with or without a net.
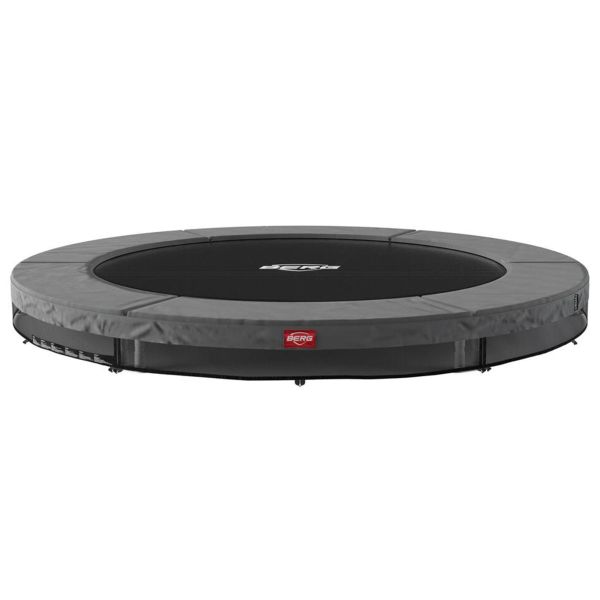
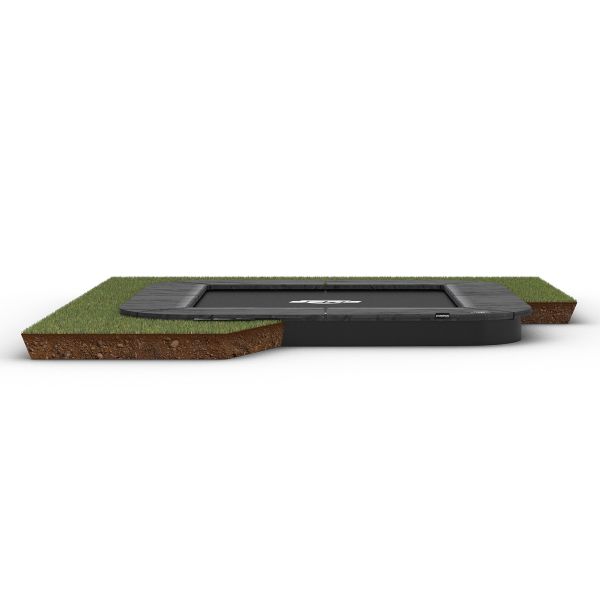
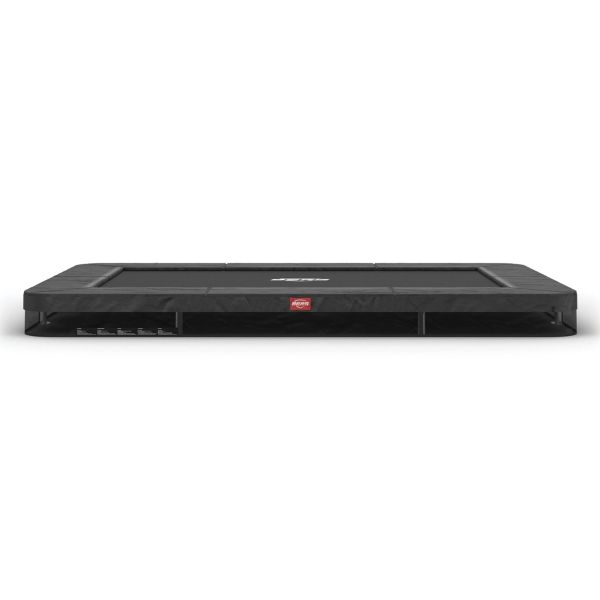
However, sunken trampolines are seen as the safer option, because they’re set into the ground. Even if the edges of the in-ground trampoline are a couple of inches above the ground, a fall from that height is far less likely to result a serious injury. Due to the reduced airflow under the sunken structure, you can’t jump quite as high on an in-ground trampoline, which also reduces the risks.
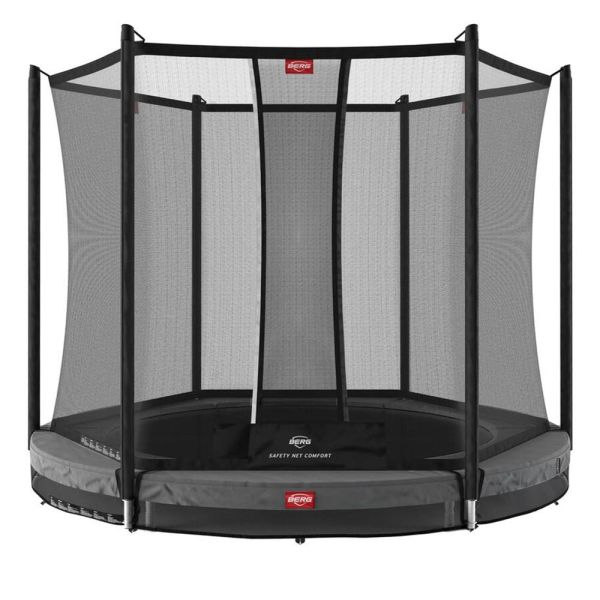
You can simply walk right onto a sunken trampoline, too, which also avoids the possibility of falling while climbing on or off the trampoline mat. However, all of this enhanced safety doesn’t mean you should be complacent – always make sure the trampoline is clean and dry before letting a child jump on it, and always watch over them. You should still consider creating a safety net enclosure, as well.
• How do I install an in-ground trampoline myself?
If you’ll need to do some landscaping to fit a sunken trampoline into your garden, you might want to hire a professional landscaper to dig the hole for you. If you would rather save money by going down the DIY route, you’ll need the proper equipment and at least one extra pair of hands to help you out.
Your trampoline should come with everything you need to install it, bar the tools to dig the trench – so you’ll need shovels or spades for the first part. Remember that the hole needs to be a few inches wider than the in-ground trampoline itself and deep enough to take the weight of your child. Check the product manual before you begin, as it should give more specific measurements for that model.
Once the hole is dug and the bottom levelled, you’ll need to assemble the trampoline frame. The step-by-step instructions can be found in the product manual. After constructing all the elements, you can fit the structure into the hole as directed. Make sure it’s completely level and secure – you can buy separate trampoline tie-down kits if the fittings that come with the product aren’t enough.
When you’ve settled and anchored the sunken trampoline, use some of the excavated soil to fill in any gaps around the edges so the structure is definitely fixed in place. Attach any safety nets and the equipment should be good to go. Bear in mind that even with an enclosure, there should be at least 2 metres of clear space in all directions, with shock-absorbing ground like grass, sand, or bark chips.
• Is an in-ground trampoline worth it?
This is dependent on how often you intend to use the sunken trampoline. If your children will only play on it occasionally, it may not be worth the investment. However, if your kids love jumping around every day, they’ll get many years of use out of one of our robust in-ground trampolines.
If you’re wondering ‘how long does a trampoline last?’ – there’s no fixed answer. It depends on how rigorously the product is used and how well you maintain it. With the proper maintenance, a kid’s trampoline should last for five to eight years or more. This makes the investment excellent value.
To ensure your in-ground trampoline stays in the best condition for as long as possible, teach your children how to bounce responsibly so they don’t strain the parts too much. You should also check over the structure before every use, tightening loose screws and using anti-rust spray on the springs.
Weather damage can shorten the lifespan of your outdoor trampoline, so you might want to purchase a trampoline cover. Only let children play on the equipment in dry weather – don’t let them on the trampoline if it’s raining or storming, and take down any safety nets if it’s windy.
If you buy a small trampoline for a younger child to begin with, it’s likely that you’ll have to replace it with a larger teen-friendly model as they grow bigger. Keep an eye on the product’s performance over the years, and if it decreases or the mat develops visible thin spots or holes, it’s no longer safe.
• Which is the best trampoline size for my child?
To ensure that the model you buy is suitable for your child, you must take their age, height, and weight into account. Smaller models are obviously more suitable for smaller children, as well as smaller gardens, but you must check the age restrictions in the product description to make sure. Each sunken trampoline on our website will have a specific age and weight guide in its listing.
If the child does not meet the age and size requirements, for their own safety, they should not use the trampoline. The larger the in-ground trampoline is, the more room your child will have to jump around safely in the centre, but this will be limited by your available outdoor space. Smaller round trampolines are best for younger kids, while rectangular sports trampolines are best for teenagers.
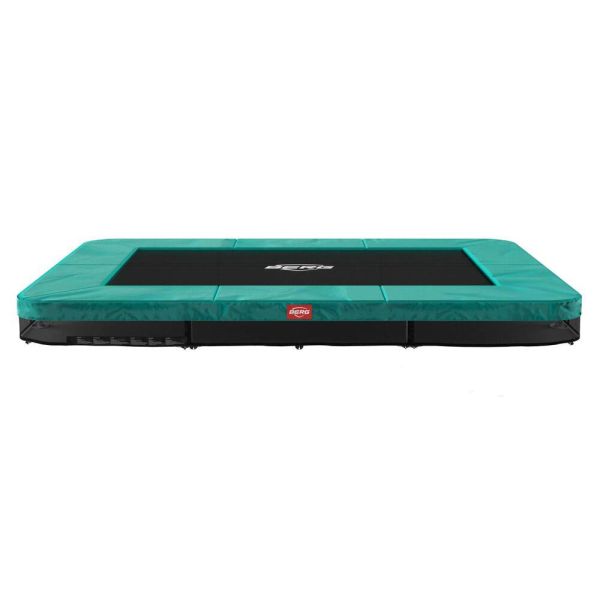
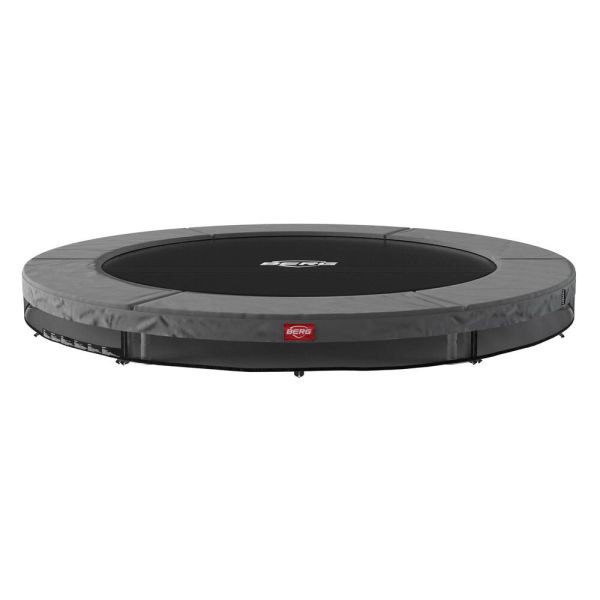
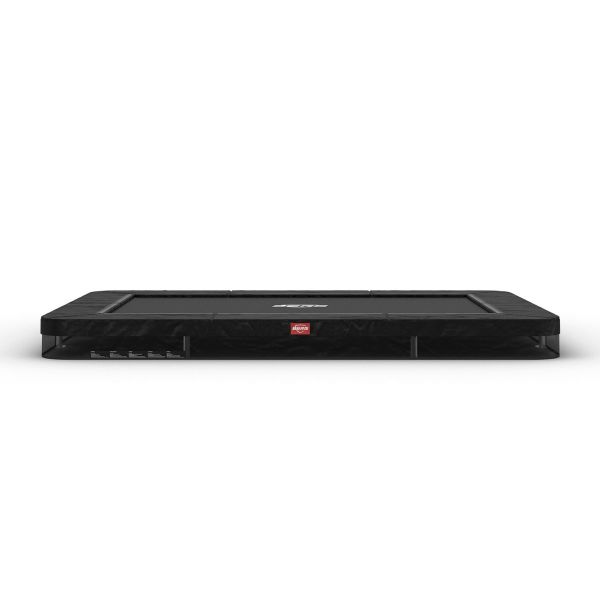
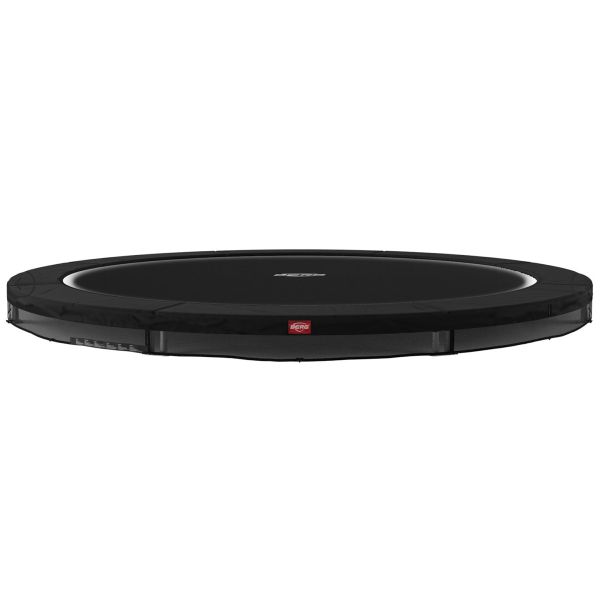
It’s a good idea to buy an in-ground trampoline as big as your budget and garden allows, but bear in mind that you’ll need at least 2m of clear space all around it, too. Our round sunken trampolines range from 9ft to 14ft in diameter, and we also supply rectangular trampolines, square trampolines, and oval trampolines in many different sizes. The largest size we stock is 17ft long by 11ft 4” wide.
• Which trampoline shape is the best?
Another common question customers have is, ‘are round trampolines or rectangular trampolines better?’ – and again, it’s all down to whoever is buying, installing, and using the equipment. Round trampolines are the original shape traditionally found in gardens all over the UK, as the circular mat creates even spring tension, meaning jumpers will always be pulled towards a central bounce area.
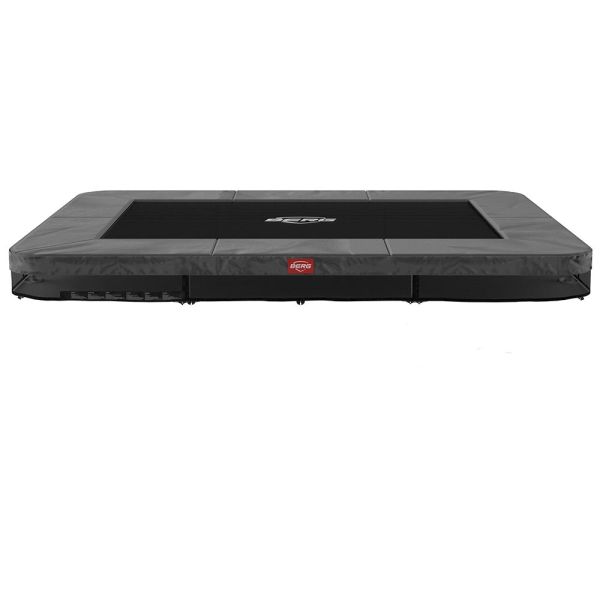
The second most common shape is probably rectangular trampolines, which are usually designed as sports trampolines for more serious users. Of course, it’s not advisable to attempt any tricks on a domestic in-ground trampoline, and manufacturers also warn against multiple people bouncing at the same time. Even if you have multiple children, it only needs to be big enough for one at a time.
As alternatives, we also offer square trampolines, which can fit more neatly into certain spaces than circles, and oval trampolines, which have a different configuration of springs. An oval trampoline will have several different bounce areas for a better jumping experience, whilst still being safe to use. This shape also fits nicely into narrow yards, though it still requires a surrounding safety zone.
• How do I make my trampoline winterproof?
Since a sunken trampoline is embedded directly into the ground, it’s more secure than an upright trampoline. However, it’s also more difficult to disassemble if you decide to put the equipment in storage for the winter months, when it isn’t in use. Fortunately, you can still take down any safety netting and use a trampoline cover to protect it from the weather and keep water and debris out.
Your children’s trampoline should be anchored to the ground for safety while jumping in any case, but you can buy separate trampoline anchoring kits if you want to be thorough. Freestanding trampolines are notorious for blowing away in high winds, but even in-ground trampolines could be uprooted if they aren’t secured properly, especially if there’s a net enclosure that acts like a sail.
Even after anchoring the sunken trampoline properly and covering it, you shouldn’t just forget about it until it can be used again in the spring. Check underneath the cover periodically and sweep off any fallen leaves or other debris before it builds up. Similarly, if it snows heavily, the extra weight could damage the equipment. Never let anything build up that could strain the springs and frame.
• Does sinking a trampoline in the ground affect bounce quality?
One of the biggest concerns when it comes to the quality of sunken trampolines is how this installation method affects the bouncing experience. Many people worry that lowering a trampoline into the ground will reduce the bounce below the quality of a traditional trampoline.
However, this isn’t true. In-ground trampolines are specially designed to direct air flow so that the air doesn’t get compressed and trapped beneath the jumping mat, which would limit the bounce. This style of trampoline uses vented pads to allow air to escape without pushing the mat back up.
Without these mechanisms, the pads pushing into the mat can also cause an annoying loud noise known as ‘pad slap’ – which can also be off-putting when bouncing on the sunken trampoline. Venting the air through strategically positioned holes in the safety pads eliminates this problem.
This means that jumping on an in-ground trampoline has more or less the same feel as bouncing on an above-ground trampoline. In fact, since the frame is held firmly in place with less movement from dissipated energy, you could say that sunken trampolines actually have an improved bounce.
• Does water build up underneath sunken trampolines?
Since in-ground sunken trampolines are usually outside and surrounded by soil, the pads have small built-in drainage holes that allow water to gradually drain out after it rains. You don’t have to worry if a bit of water flows out after rain – it should all drain into the ground after a little while of jumping.
That said, the ground conditions in your garden and weather conditions in your area can definitely affect the drainage under your sunken trampoline. This is why it’s important to choose the spot you install it in carefully. If you have chalky or clay soil and a high water table, you may have to install a drainage solution to prevent the hole from filling with water underneath the in-ground trampoline.
Typically, this involves digging another smaller hole in the centre of the trampoline pit and filling it with gravel or a permeable membrane. This forms a simple ‘soak-away’ that allows any standing water to be gradually soaked up into the ground. It’s often the easiest and most cost-effective method, rather than having to dig drainage channels leading away or installing an electric pump.
• How do you clean and maintain an in-ground trampoline?
Just like an above-ground trampoline, an in-ground trampoline system does require cleaning and maintenance. This will extend the lifespan of the equipment, keeping your trampoline in good condition for longer – but if you fail to look after it properly, this could invalidate its warranty.
If your sunken trampoline is looking a little scruffy, you should first remove any loose dirt and debris using a dustpan and brush. Then, use a solution of warm water and mild soap to clean the jump mat, wiping off any stubborn dirt with a soft brush or cloth. Finally, rinse with water and dry with a towel.
Never use cleaning products like detergents, soap powders, or solvents to wash your trampoline, as these could build up a coating on the surface of the jump mat that makes it slippery and not safe.
If the sunken trampoline won’t be in use for a while, you could purchase a weather cover to protect it from falling leaves and rain. This should help to prevent discolouration and dirt from building up.
When it comes to maintenance, you should carry out occasional checks of the equipment before allowing anyone to jump on the trampoline – especially if it’s been a while since it was last used. Look out for loose or missing springs, fraying ‘D’ rings and straps, and deterioration of the covers or interior foam. Any worn-out or broken component must be replaced before using the trampoline.